Furniture First Aid: DIY Fixes for 6 Common Vintage Furniture Flaws
- Posted on
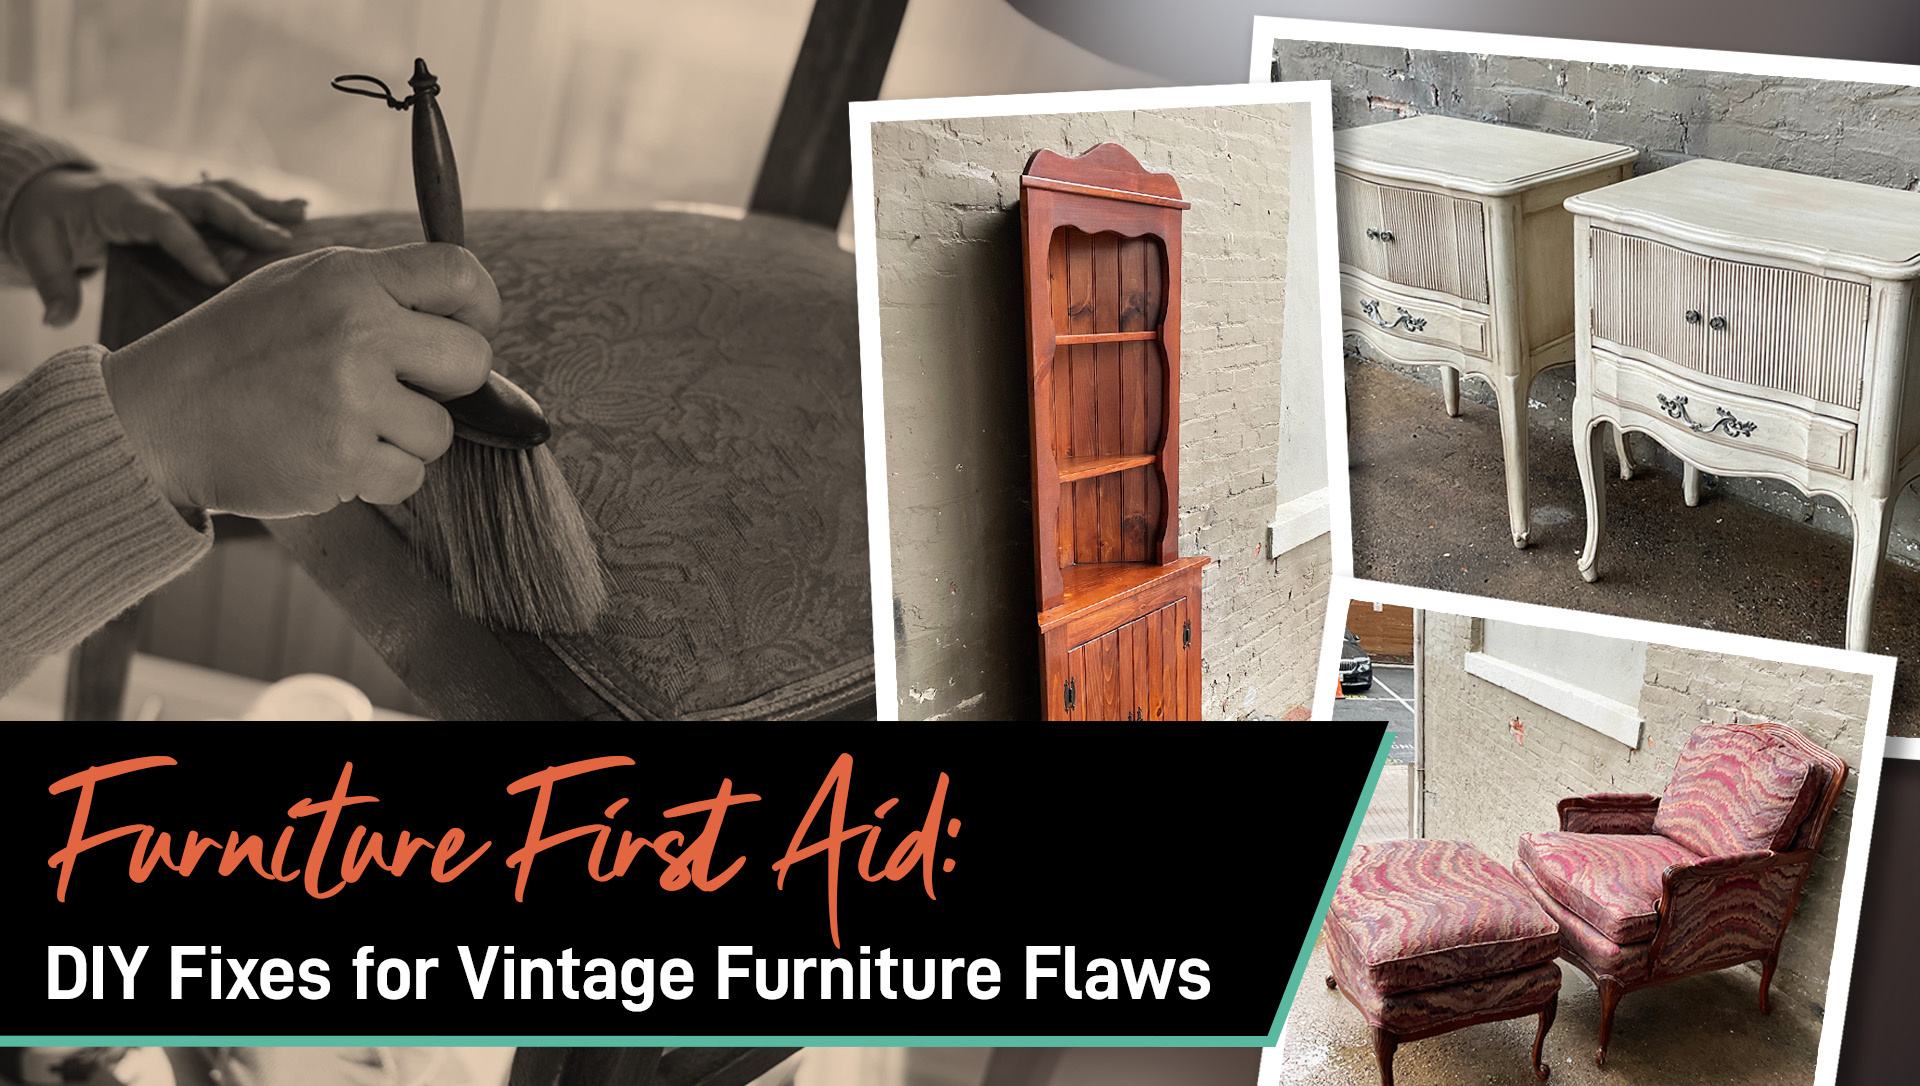
In the world of antique and vintage furniture, charm often comes wrapped in scratches, stains, and a bit of wobble. While imperfections can add character, some signs of age may require a little TLC before your piece is ready for prime time. At GoodWood, we've spent years caring for antique and vintage finds, and we’ve compiled our go-to methods for resolving the most common issues due to time and wear—no professional workshop required!
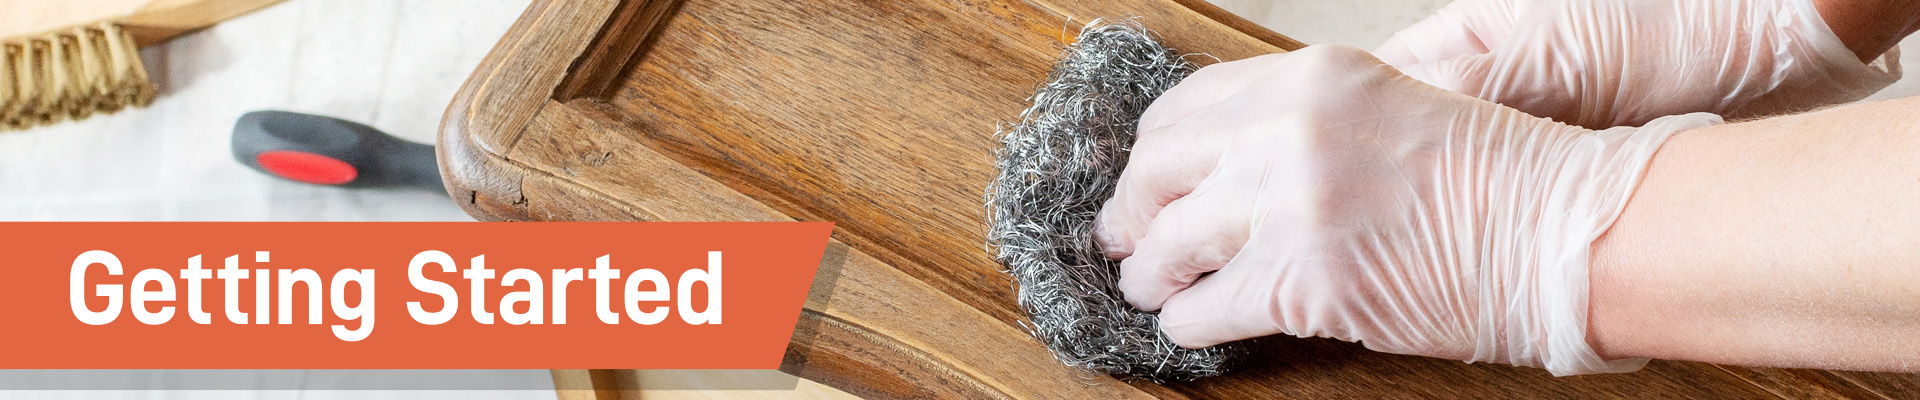
Getting Started
After bringing home an antique or vintage piece, we recommend giving it a gentle scrub with GoodWood’s secret weapon—fine grade (0000) steel wool and citrus oil cleaner before diving into repairs. Not only are they great for removing surface grime on wooden pieces, they also clean the gunk off chrome like nobody’s business. By starting with a thorough clean, you can better assess the underlying condition of your pieces and determine the best approach for additional care and repair.
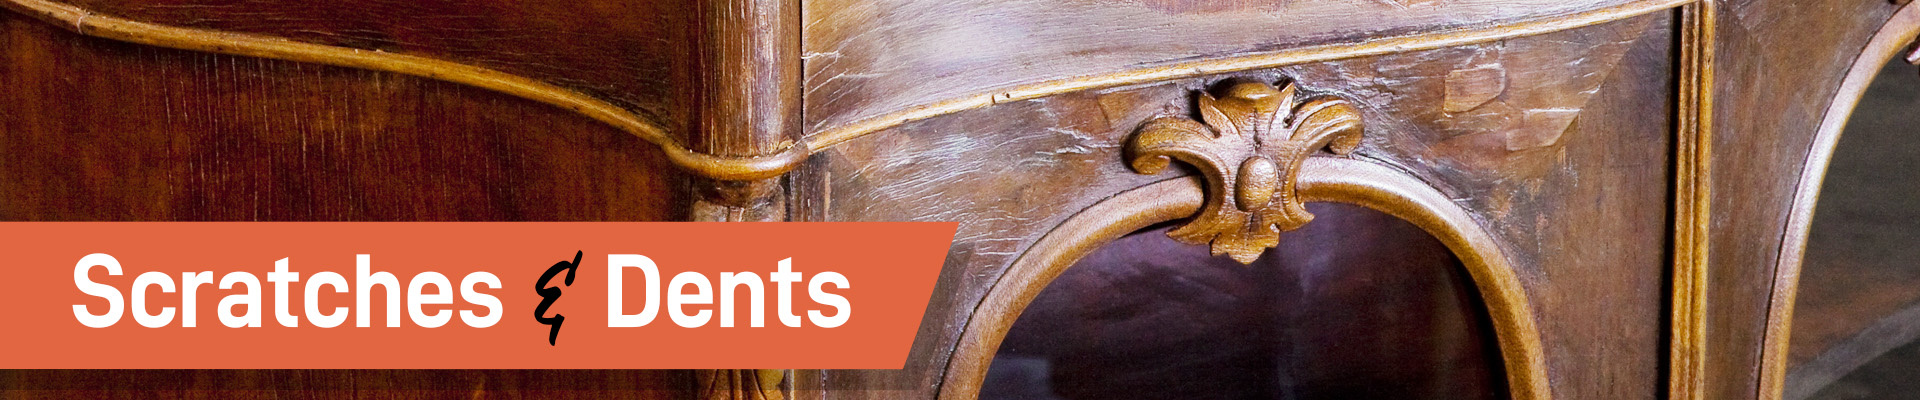
Scratches & Dents
Scratches, dings, and dents can dull the impact of an otherwise beautiful piece. Believe it or not, a walnut can work wonders on minor scratches—its natural oils and pigments help conceal damage. Simply rub over the scratch, wipe it clean, and admire the result. Wood markers are another great alternative, offering a more precise color match as they come in a variety of tones.
For deeper imperfections, we recommend the sanding method. Start with medium 180-grit sandpaper, making sure to sand with the grain, and then follow by sanding with a finer 240-grit sandpaper to smooth out your work, and finish by wiping away any lingering dust or residue. Once you’ve finished sanding out the scratches, apply a high-quality oil like tung or linseed using a cloth or brush to help rehydrate the wood.

Wobbly Legs & Loose Joints
Loose joints and shaky legs compromise both aesthetics and function. A little reinforcement goes a long way toward giving your furniture the support it needs to function as intended. We recommend doing a thorough inspection of all hardware to check for stripped or loose screws, tightening whenever possible but replacing screws altogether if stripped.
If joints need a little extra TLC, wood glue may be warranted. However, before applying adhesive, we recommend cleaning the joint thoroughly with a damp cloth (or sandpaper for more stubborn grime). Once dust and debris have been removed, you can lay down a thin layer of adhesive, then wiggle the joint gently to encourage equal glue dispersion, clamp together, and allow the piece to dry fully. For more stubborn gaps, you can use wooden shims—just tap gently into place with a hammer or mallet for a snug fit.

Water Rings & Heat Marks
Unsightly white rings or dark marks are typically a result of exposure to excess moisture or heat. The key to removing these pesky rings or marks is to be gentle, which is why common household goods can often do the trick. Mix equal parts baking soda with a non-gel white toothpaste to create a paste, then apply it to the stain in question. Buff with a clean cloth until the mark disappears, then wipe clean and polish.
If that doesn’t work, turn up the heat. Place a clean, dry cloth over the stain, then gently iron over the top with your iron set to low-medium heat. Move the iron frequently to avoid further damage.
If you’d prefer an all-natural remedy, combine equal parts white vinegar and olive oil and apply with a soft cloth. Let sit for 5 minutes before wiping away and buffing.

Stuck or Warped Drawers
Drawers that stick or swell can make daily use frustrating. To diagnose the issue, remove the drawer and examine the tracks to see if they’ve been misaligned. If so, line up the tracks properly and reinsert the drawer. If drawers still stick, try lubricating friction points by rubbing a dry bar of soap or candle wax along the tight areas for smoother movement. If swelling is the culprit, gently sand down trouble spots, starting with higher grit and finishing with finer grit for a smooth glide.

Peeling Veneer or Chipped Wood
Loose veneer and chipped surfaces are common occurrences with older pieces. For loose veneer, apply wood glue under the area that is peeling, then clamp it firmly in place until the glue has fully dried. For small chips, apply a color-matched wood filler like Bondo with a putty knife. Once dry, sand, blend, and finish with stain or polish. For deeper damage, you may need to use epoxy. Make sure the surrounding area is clean, then mix your epoxy as directed by the manufacturer, then apply it directly ot the void, overfilling slightly. Once it has dried fully, sand the epoxy so that it’s flush, then apply a stain or finish that matches the original veneer.

Tarnished or Rusty Hardware
Aged hardware can lose its shine or rust over time. For most tarnish-related hardware issues, you can use basic ingredients you have at home to remove build-up and give it some serious shine. To get started, remove the hardware from your furniture, then make a paste with either a combination of equal parts vinegar, salt, and flour, or combine equal parts lemon juice and salt. Coat your dingy hardware with the paste and allow it to sit for 10 to 15 minutes before rubbing it in with a cloth or soft brush. Wash with warm water and allow the hardware to dry fully before reattaching it to your piece.
For more stubborn tarnish, you can use commercial cleaners like Brasso or WD-40—just be sure to review their safety guidelines. If the hardware is beyond repair, you can either look for period-appropriate replacements or use new hardware as a way to update the piece to match or blend the piece with your modern-day furnishings.
Restoration doesn’t need to be overwhelming. Each scratch, stain, or wobble is part of your furniture’s story—and with a few thoughtful fixes, you can extend its life and beauty for years to come. Whether you’re a first-time fixer or a seasoned DIYer, these methods help you care for your vintage treasures with confidence.
Ready to add a new antique or vintage piece to your collection?
Check out our website weekly, and add GoodWood to your favorites on Instagram to make sure you’re receiving updates on our latest pieces!

